

how to put a post in the ground without concrete
At 15 and eager to find my first real job, I followed up mercilessly on an application I submitted to a farm/county park that was an easy bike ride away. Eventually they gave in and granted an interview.
Over the course of the next few years, my interviewer and subsequent first boss turned out to be an individual with a work ethic beyond anyone I have ever met and without a doubt will ever meet in my lifetime. The man was just a workhorse and at such an impressionable point in my life, it turned out to be a great influence and helped shape me into what I am today. Unfortunately he died far too young but I try my hardest to remember the many things that he instilled in me.
Setting fences posts was one such task that I got to observe and learn from him. In fact, those that he set at the farm always outlived the need for a fence in that location.
Assumptions you should be aware of:
This is valid for locations with clay subsoil and a climate unlike that of the Pacific Northwest with its combination of high water tables and wood devouring soil microbes.
Items Required
Digging iron with a tamping end (example)
Spade shovel
Post hole digger, but I just use the spade and my hands and omit this tool (example)
Tarp or splayed feedbag- something sturdy enough to hold and manipulate the dirt you excavate
Fence Post
Gravel
Extra dirt, the more clay content, the better
Discarded paint can lid or similar (See step 15 for its purpose)
Procedure:
- Find a concrete surface and lightly tamp your digging iron against it. Memorize this ringing sound!
- Remove the turf and topsoil from the site of the post. Discard- I use this to cover exposed limestone rocks in the unimproved roads on the farm.
- Dig the hole putting the displaced earth onto the tarp.
- For depth, shoot for 25-30% of the above-ground length of post so 2 feet buried for a 7 foot post (5 feet exposed).
- Add 4 additional inches to this depth. So for a 7 foot post to be buried 2 feet, dig a 28 inch deep hole
- Dig twice the diameter of the post.
- Pour 4 inches of gravel into the hole.
- Place the post in the hole. If working solo, a brace may be required to hold it upright.
- Add another 2 inches of gravel around the base of the post.
- Level the post at this point! From here on out, the post isn't going to budge.
- Add a few inches of the clay soil by shovelling or pouring from the tarp.
- Now tamp tamp tamp until the sound resembles that which you memorized in step 1.
- tamp some more for good measure
- Repeat steps 8-10 until tamped clay around post is at level with the ground. This takes at least an hour depending on the moisture content of the clay and it is vitally important to take your time. No shortcuts!
- Tamp it real hard for good measure
- Repeat steps 8-10 forming a cone of clay 2 or more inches high around the base of the post.
- Tamp this cone until it rings like concrete.
- Attach a paint can lid or similar water barrier to the top of the post
Justification
First of all, I can barely do 1 post a day and my arms are numb from the tamping while my first boss could do 4 or 5. But from here on out, the post will last until the wood degradesabove ground.Luckily that is a variable that we control and can stave off with sealants or paints.
Why do gardeners, ecologists and arborist warn against the effects of soil compaction on plants? Compact soil is biologically dead and impervious to water. Both attributes prohibit vegetation from becoming established. More importantly, a lack of microbes, oxygen and water prevent the wood from deteriorating underground! While soil compaction is a bane to the farm in most circumstances, it has its rightful applications. The role of the gravel is insurance providing drainage in the instance that water somehow finds its way in allowing to to seep deep into the ground. The cone at the base of the post rising up above ground level should shed all water anyway if compacted enough.
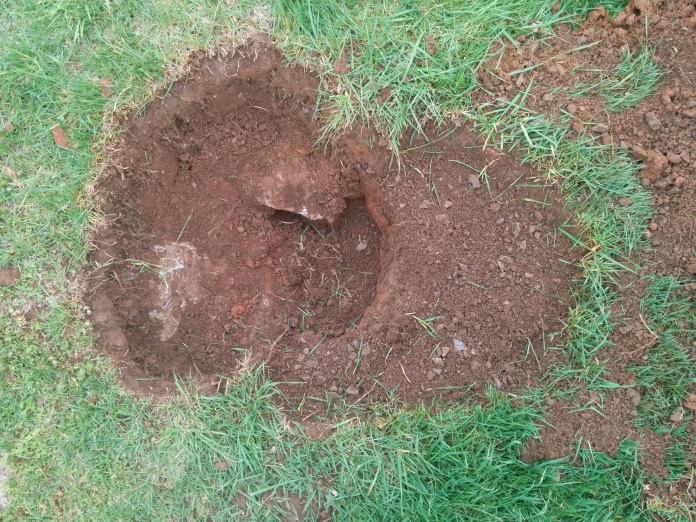
Pictures of the process
Note that I ran out of extra dirt. This will be rectified once I find a source of dirt that is not meant for top soil. It will likely come from other projects on the farm that require light excavation.
Also the damn limestone ledges everywhere on the farm made me have to keep moving my hole after starting to dig it out before I could reach the needed depth! No fence post hole will likely ever have to be this large in diameter.
Gravel added 4 inches below the post and 2 inches around its base

Getting it level with the gravel


Adding dirt little at a time and tamping like crazy! Arms are already like jello at this point

Now they are alarmingly numb, but must push through!
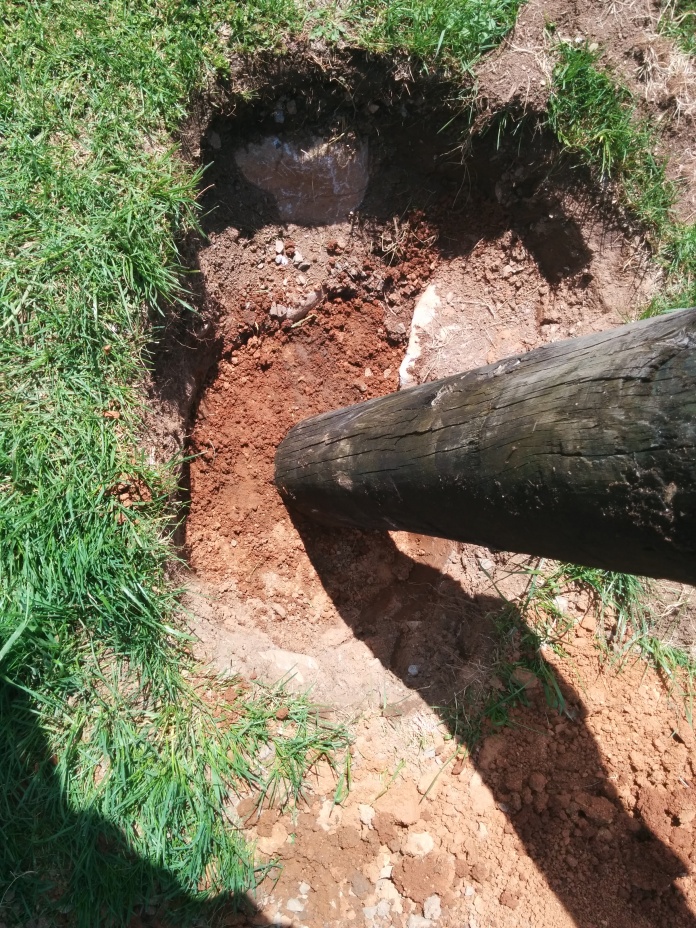
Finally finished. Well almost. Need to get more clay to finish the water shedding cone which I elected to build on the uphill side of the post with the dirt available.


A warning
This fence post is never going to move. Make sure you adequately plan the fencing for this permanence. If it has to be removed, short of major earth moving, it will likely have to be with a chainsaw leaving a stump like a tree. And that stump probably won't decompose in our lifetime!
One last unrelated note:
I obtained these lightly used fence posts from a farm for $1.50. Items like fence posts can be had opportunistically for deep discounts. Stock up when presented with a cheap opportunity!
I know its strange to mention a fashion blog dedicated to quality clothing in the context of this blog. However putthison.com created this extremely accurate depiction of sourcing quality goods:

You can get items of good quality EITHER quickly OR cheaply but not both.
By the time a fence is a high and pressing priority, posts are not likely to be cheap. And if they are, I doubt they are cedar, mulberry, locust or osage orange which are the absolute best woods to be sunk into the ground. But who knows, with this method, you might be able to get away with a rot-prone wood!
how to put a post in the ground without concrete
Source: https://thegreenergrassfarm.com/2015/05/08/how-to-set-a-long-lasting-fence-post-without-concrete/
Posted by: cooperexan1959.blogspot.com
0 Response to "how to put a post in the ground without concrete"
Post a Comment